Freehand Pattern Creation - Part 3: Drawing the PatternUpdated 19 hours ago
Creating Custom Freehand Patterns
The Oasis Mini can draw both Algorithmic and Freehand custom patterns. In this tutorial, we’ll guide you step-by-step through creating and uploading a Freehand pattern using vector graphic software Inkscape. This is part 3 of 6.
Part 3: Drawing Your Pattern
Step 1: Start Drawing with the Pen tool
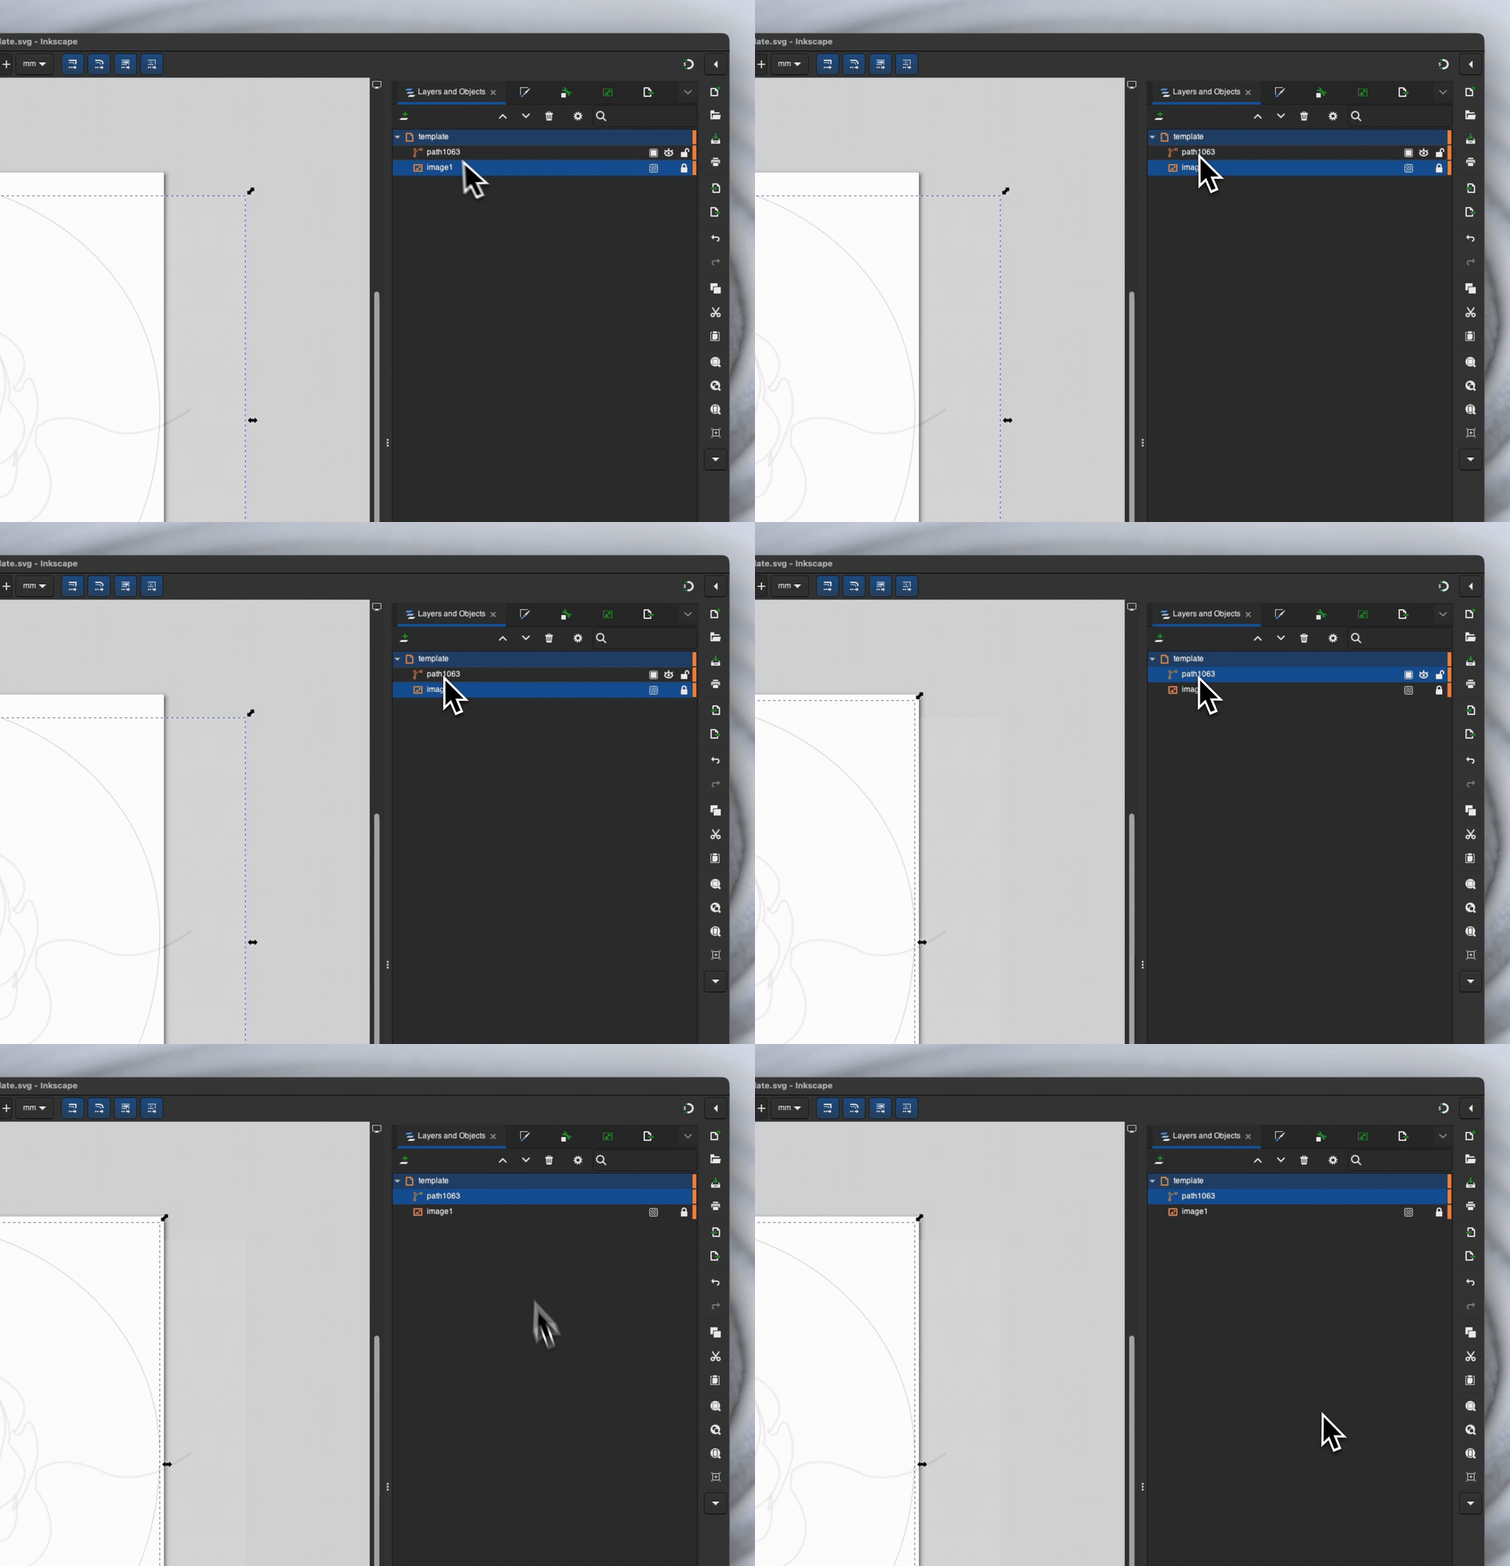
In the Layers panel, make sure the template layer is selected.
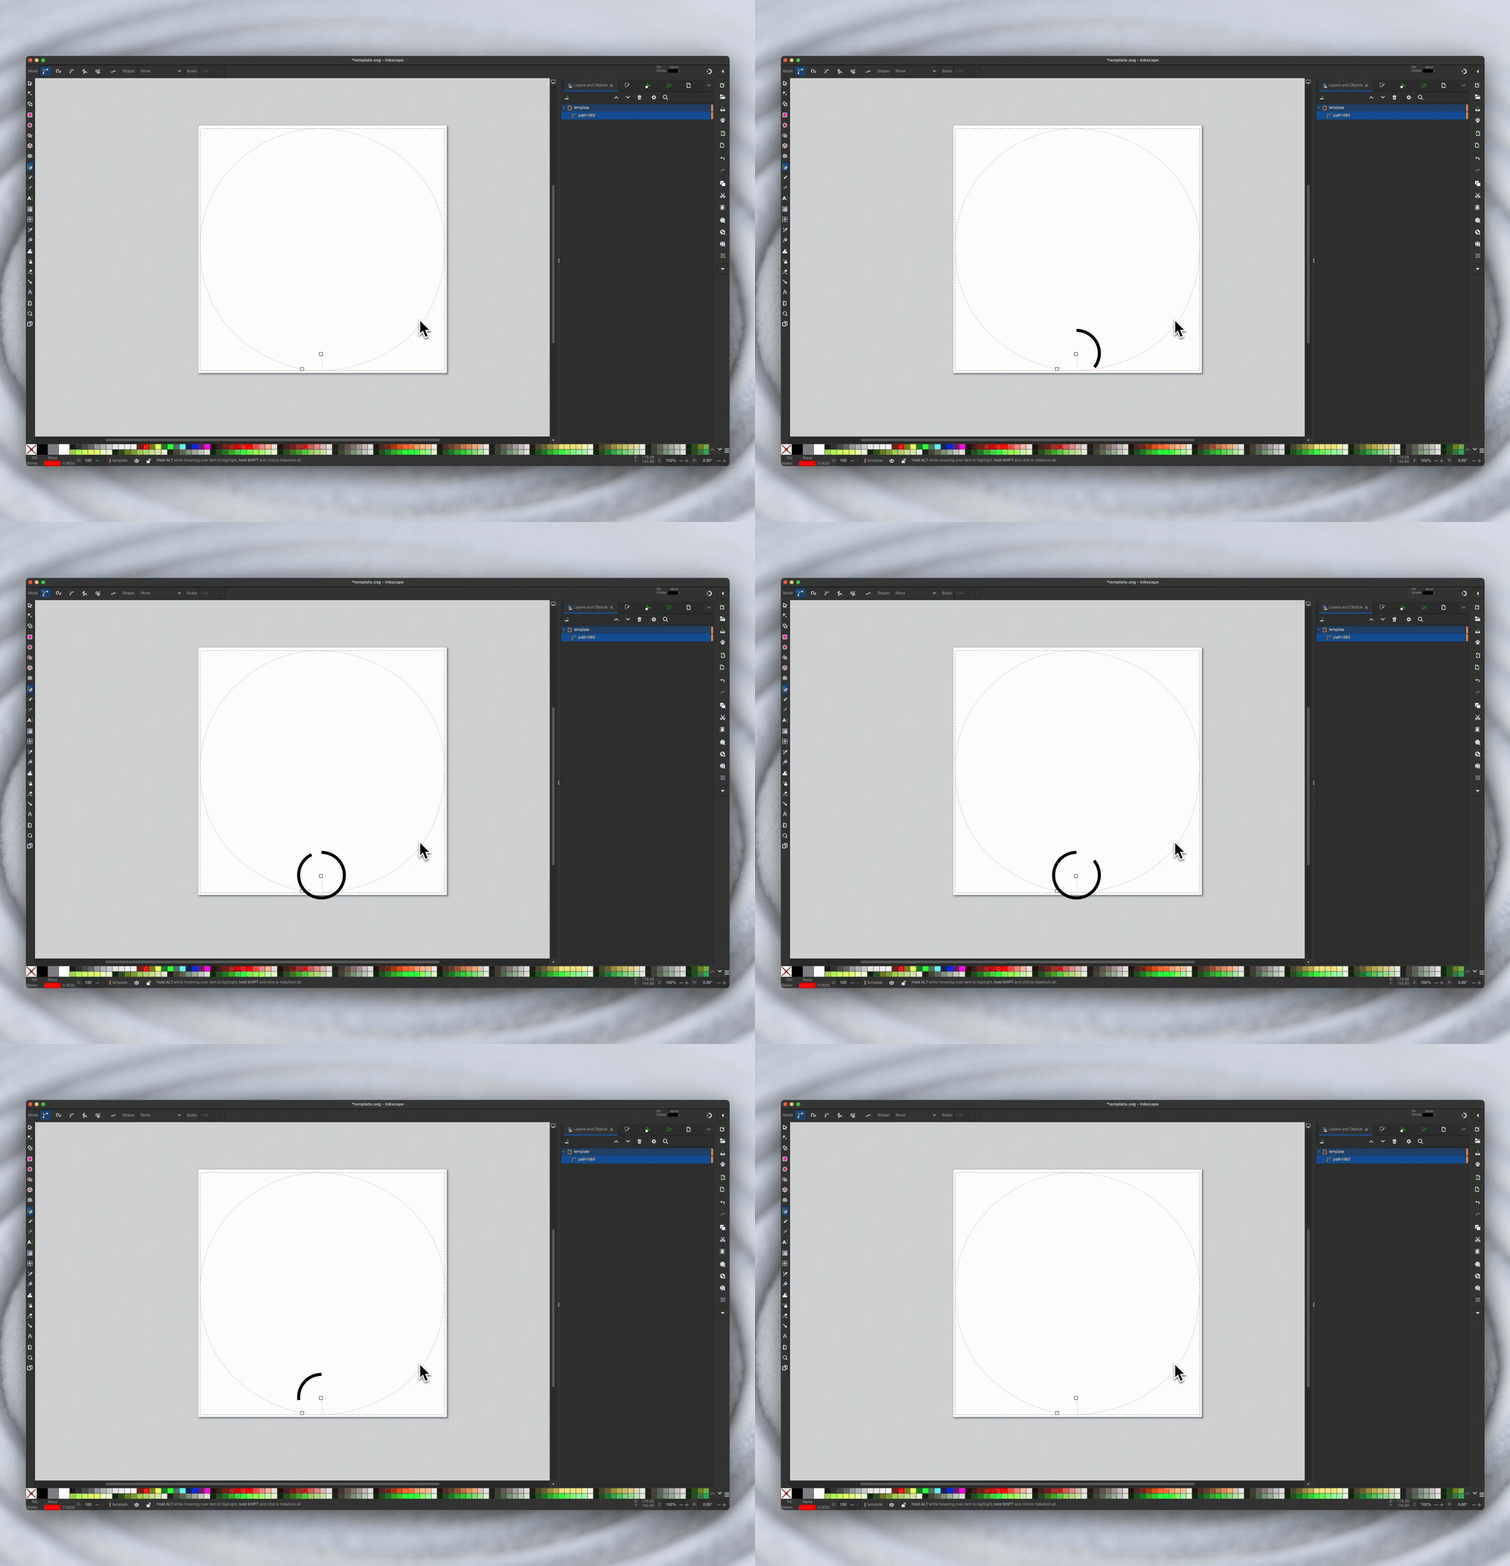
Use the Node Tool (shortcut N) to see the nodes of the template, and identify the starting node of the inner path.
Select the Pen Tool (Bezier Tool) or use shortcut B.
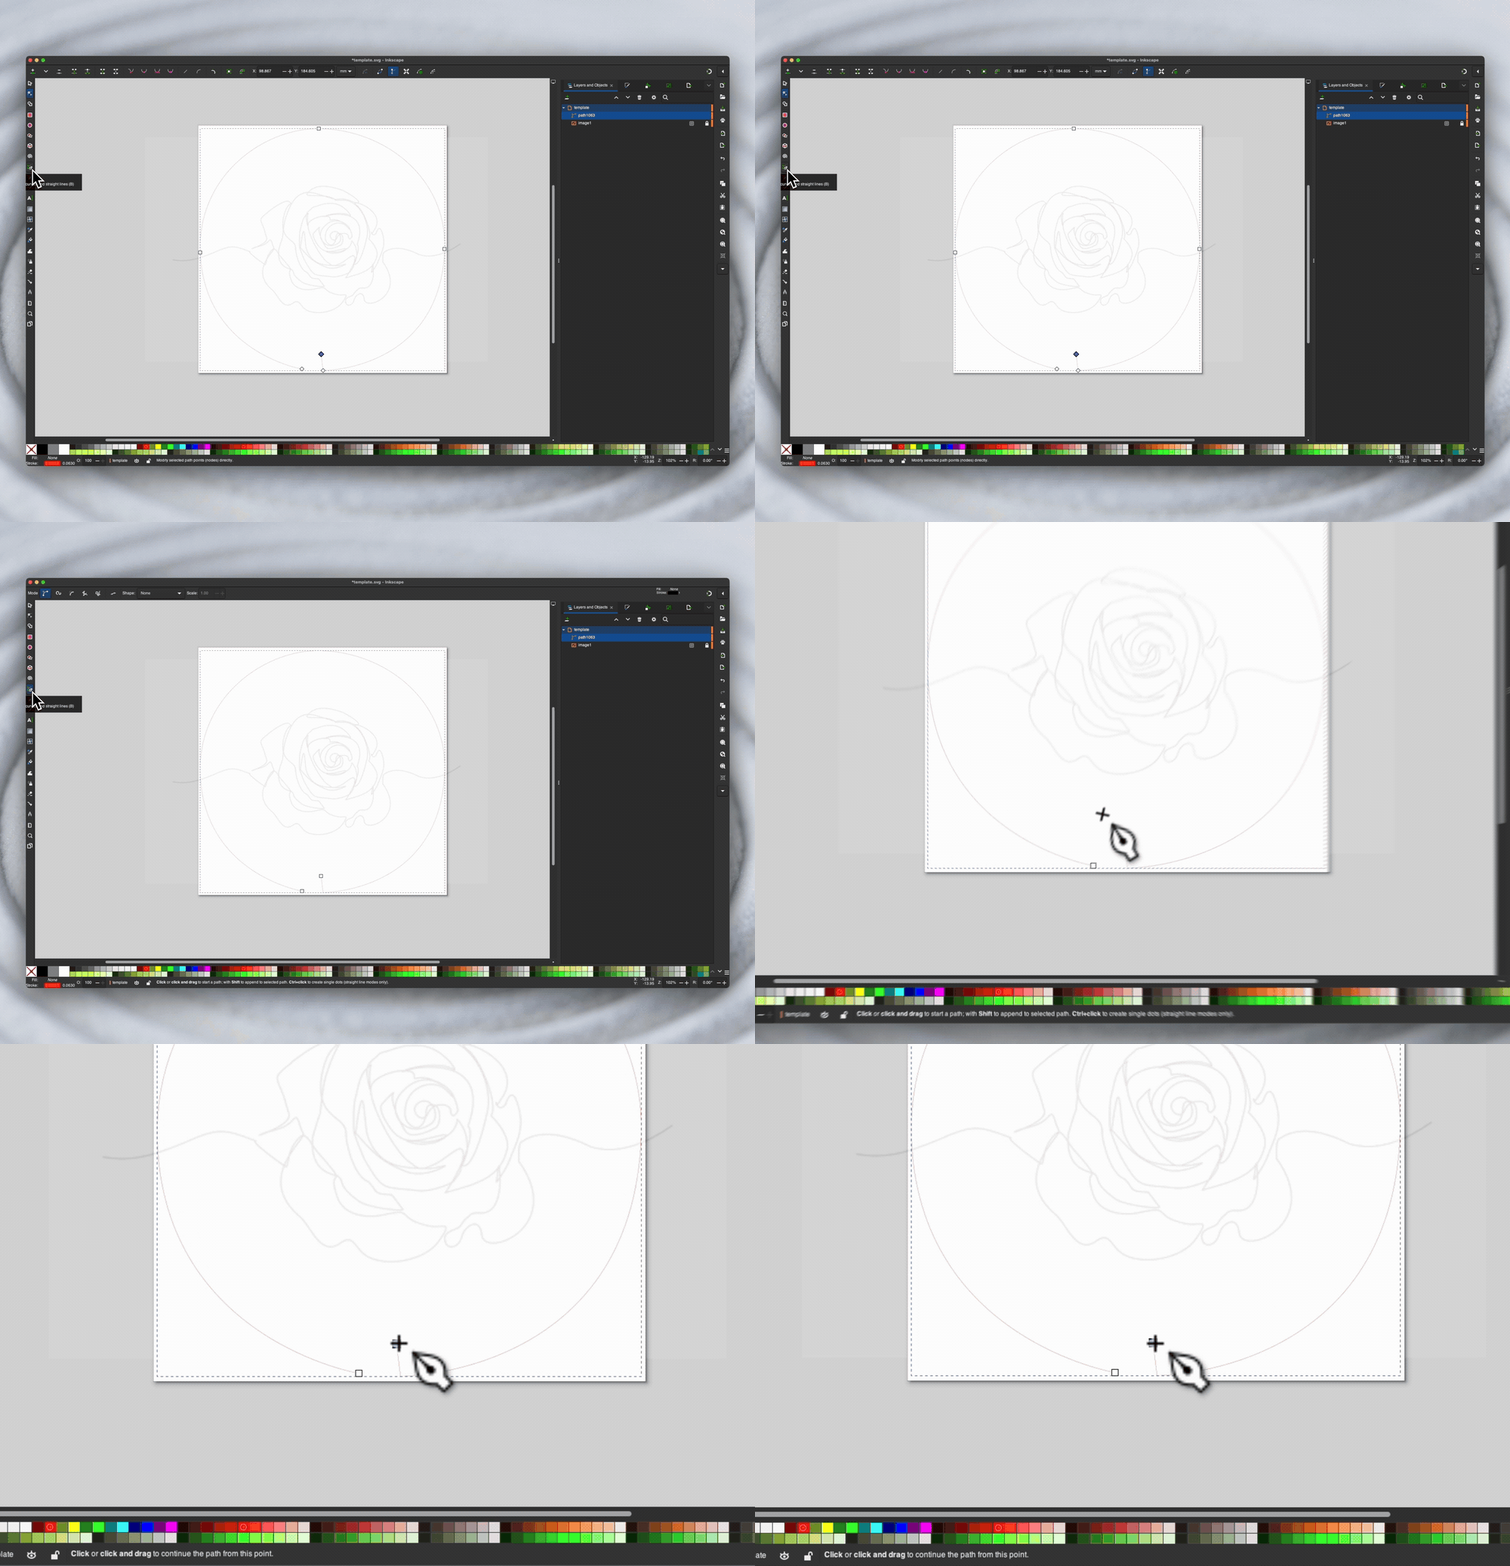
Begin drawing from the starting node:
Click once to place straight points.
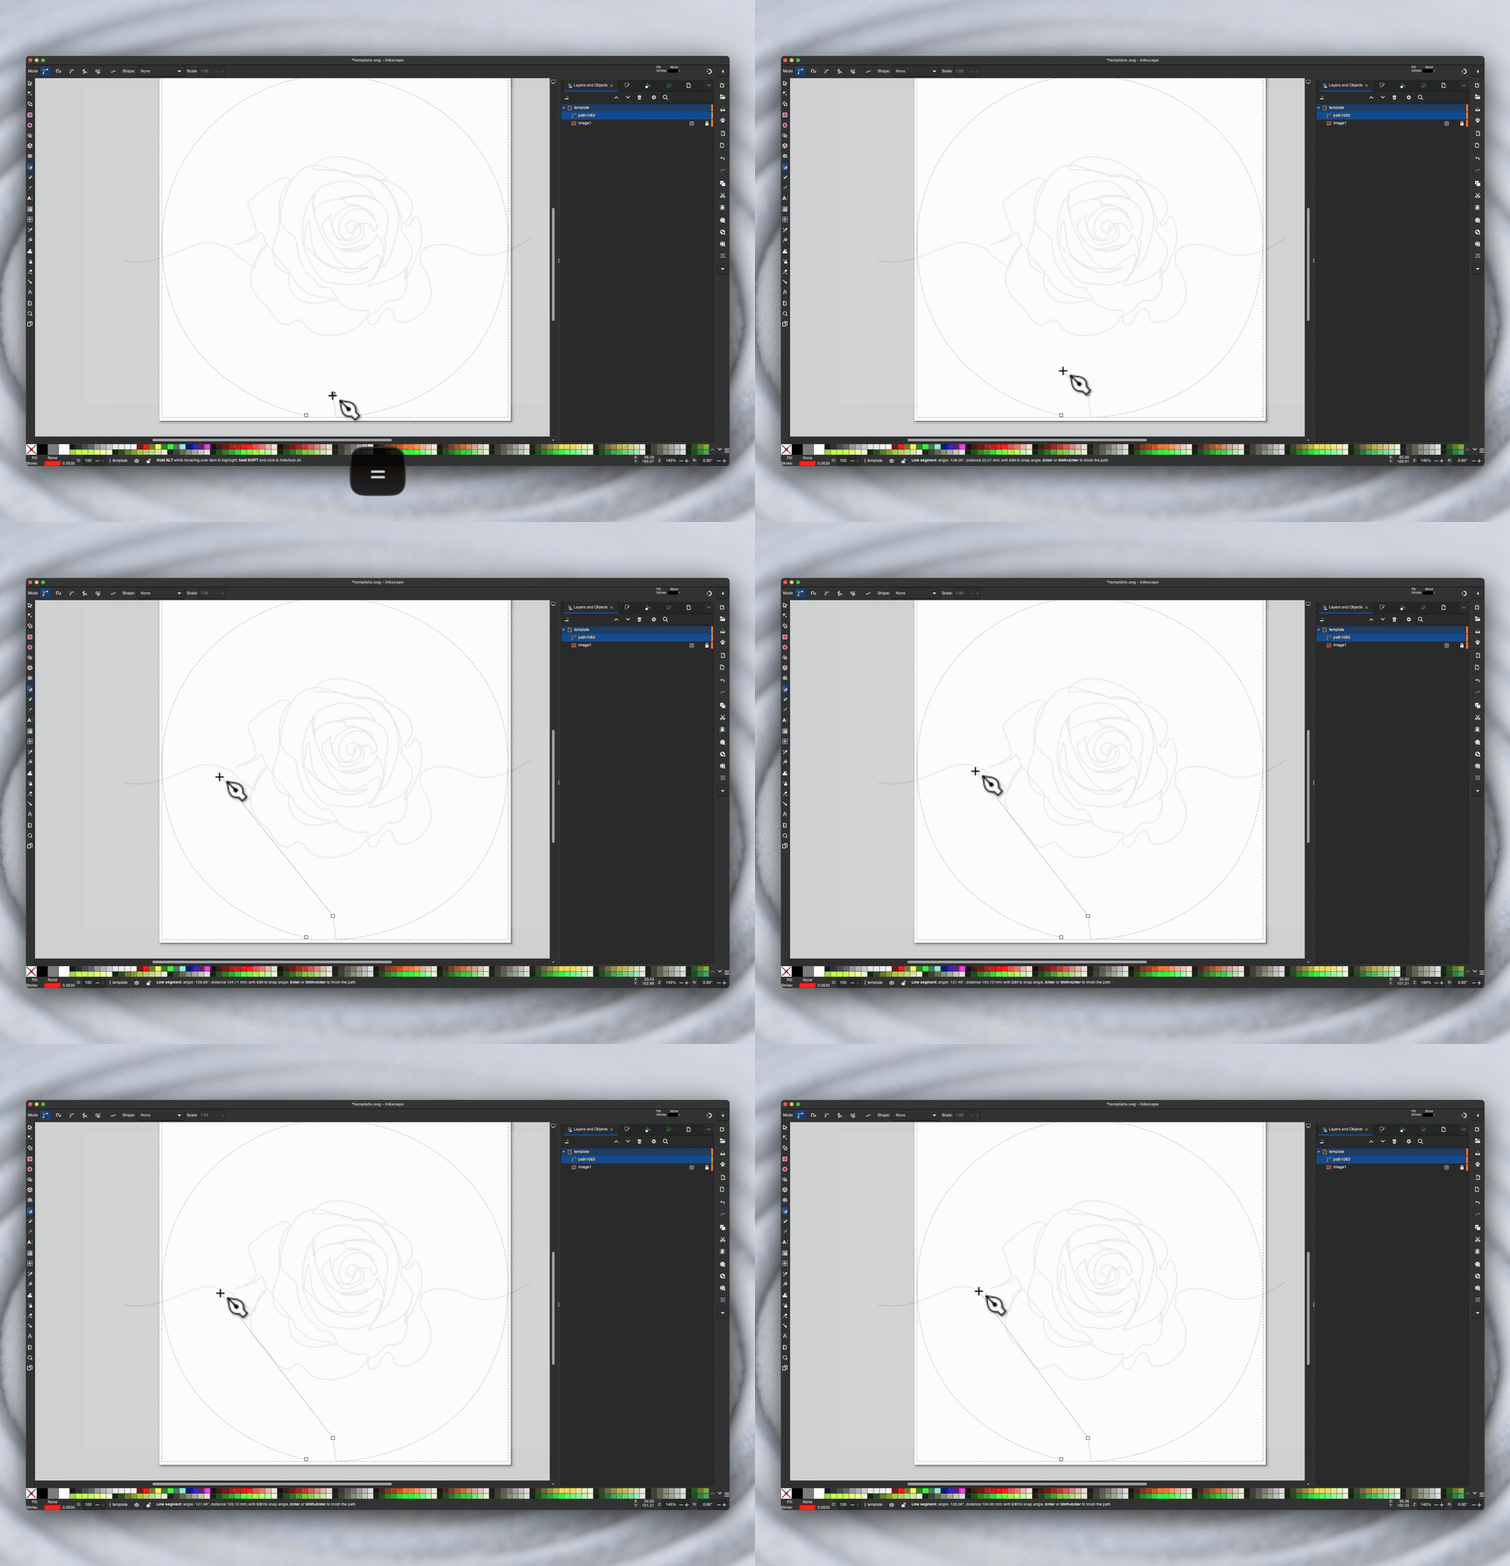
Click and drag to create curves.
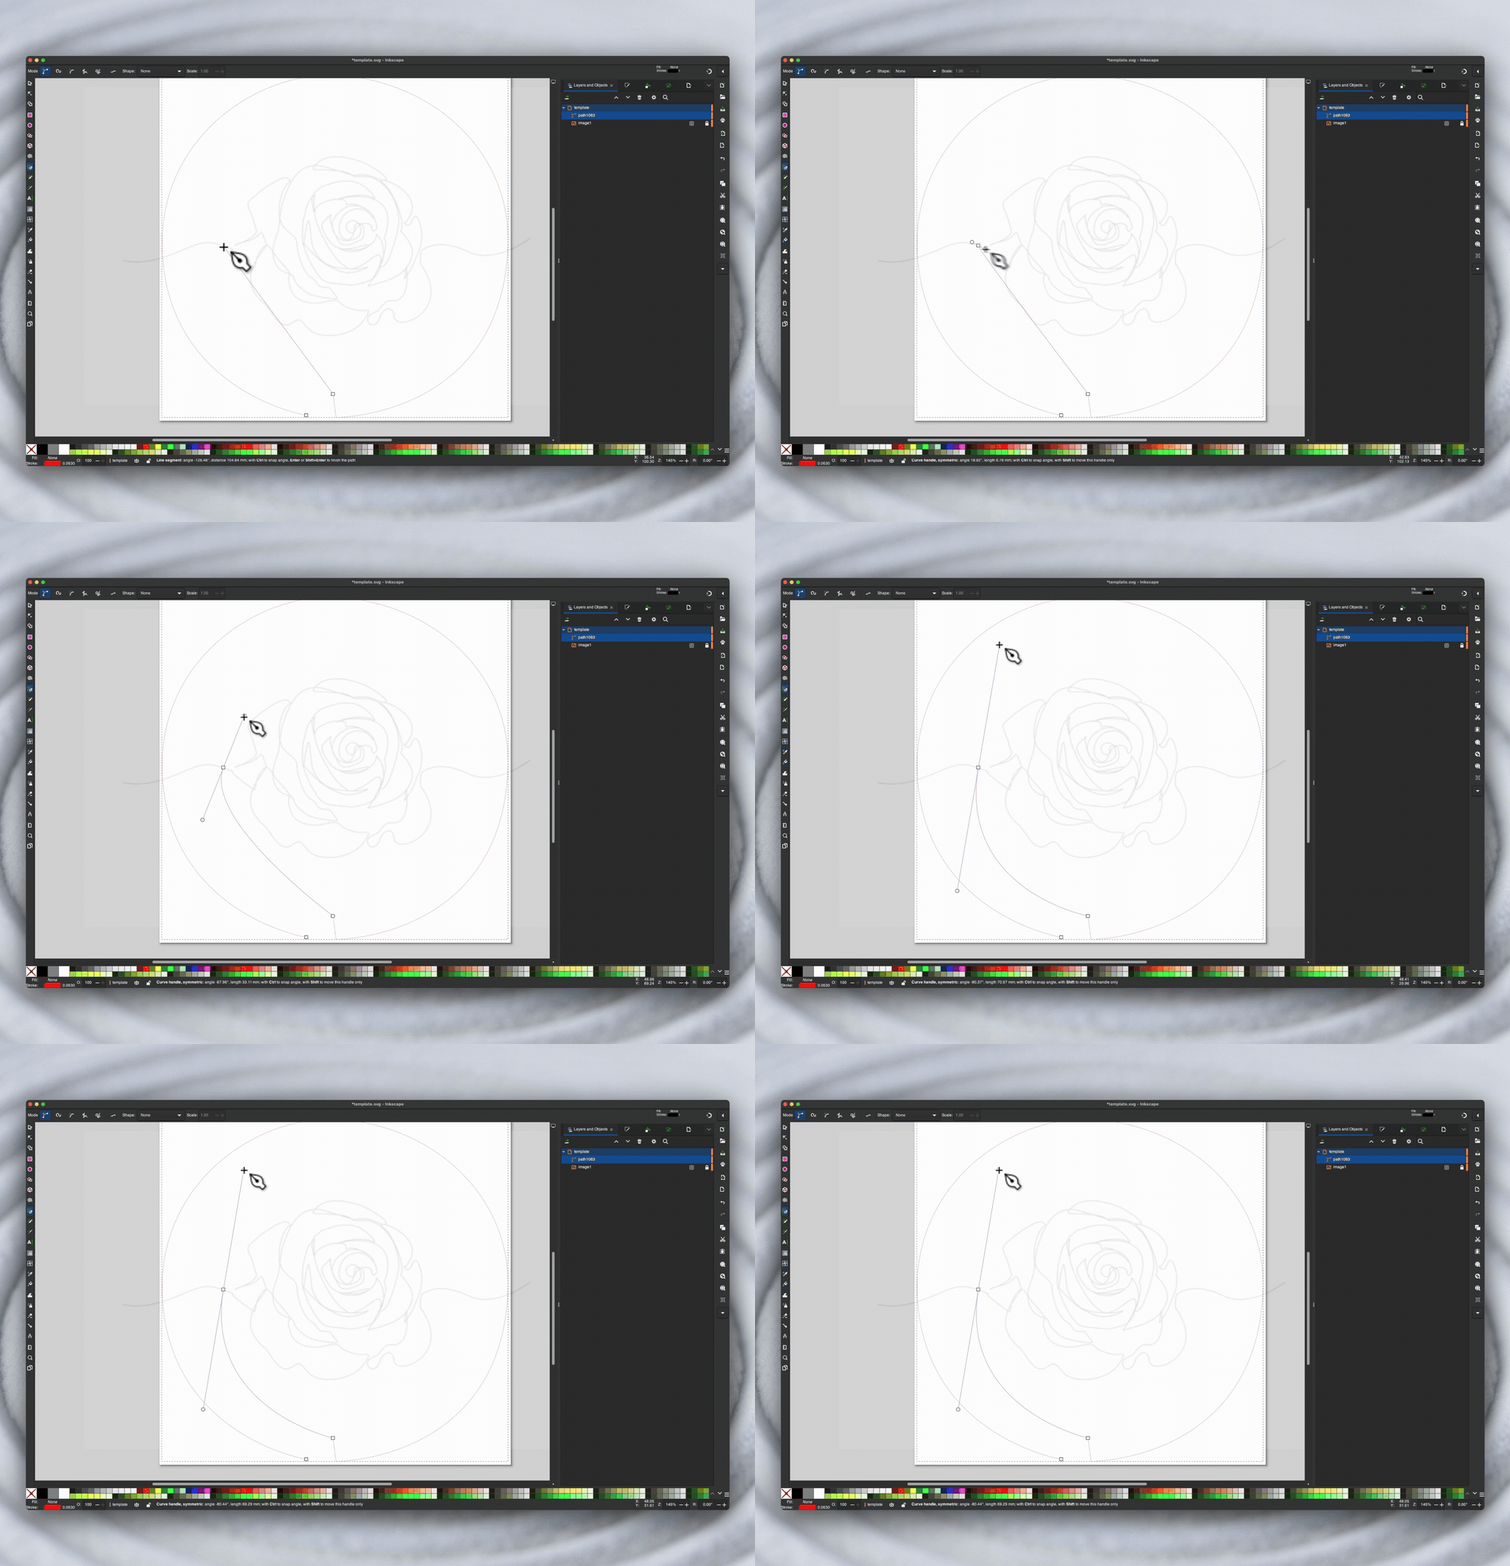
After drawing a curve, the next line will automatically be set to a curve. Use Shift + L to reset back to straight lines if needed.
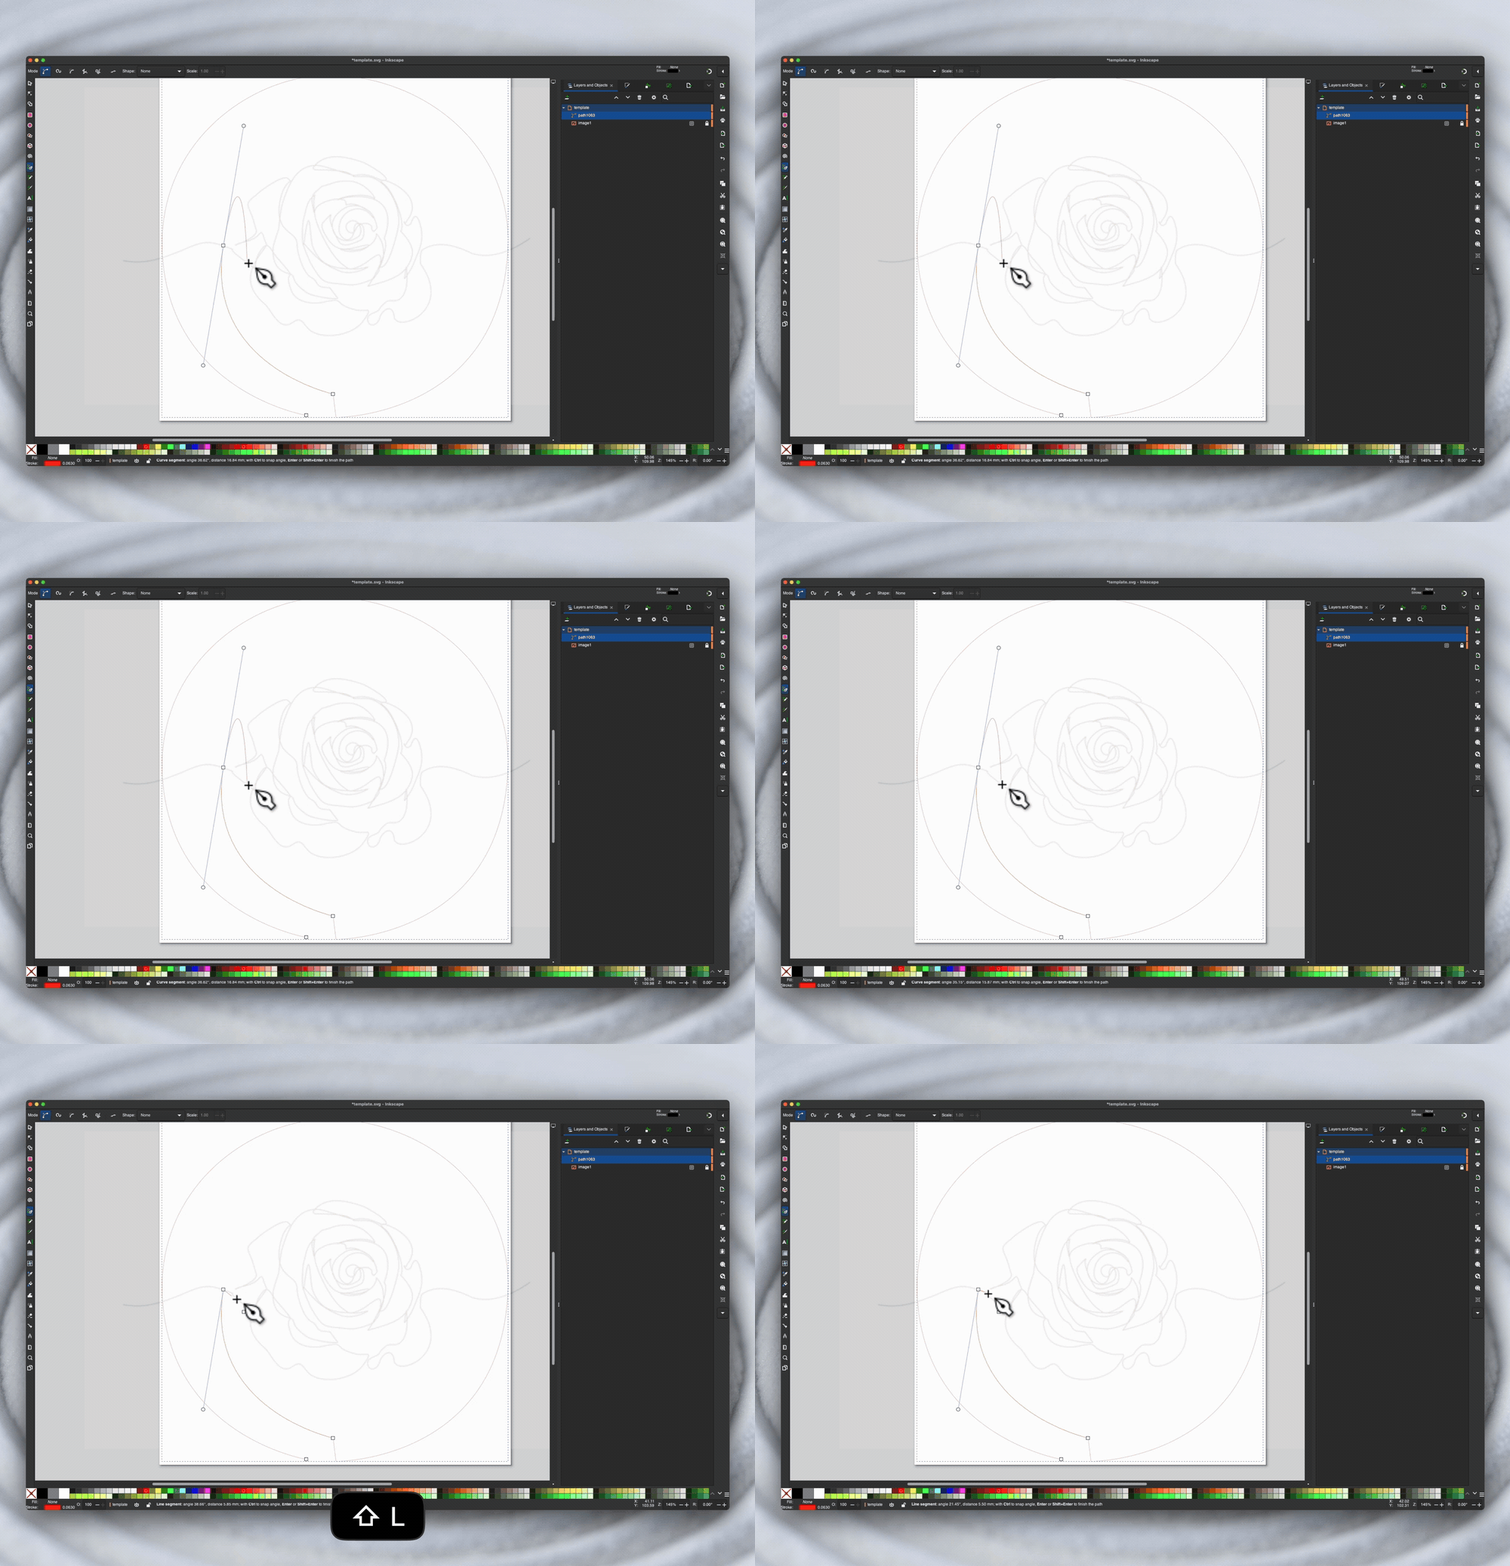
Step 2: Finish Your Design
Once your drawing is complete, double-click the last node to end the path.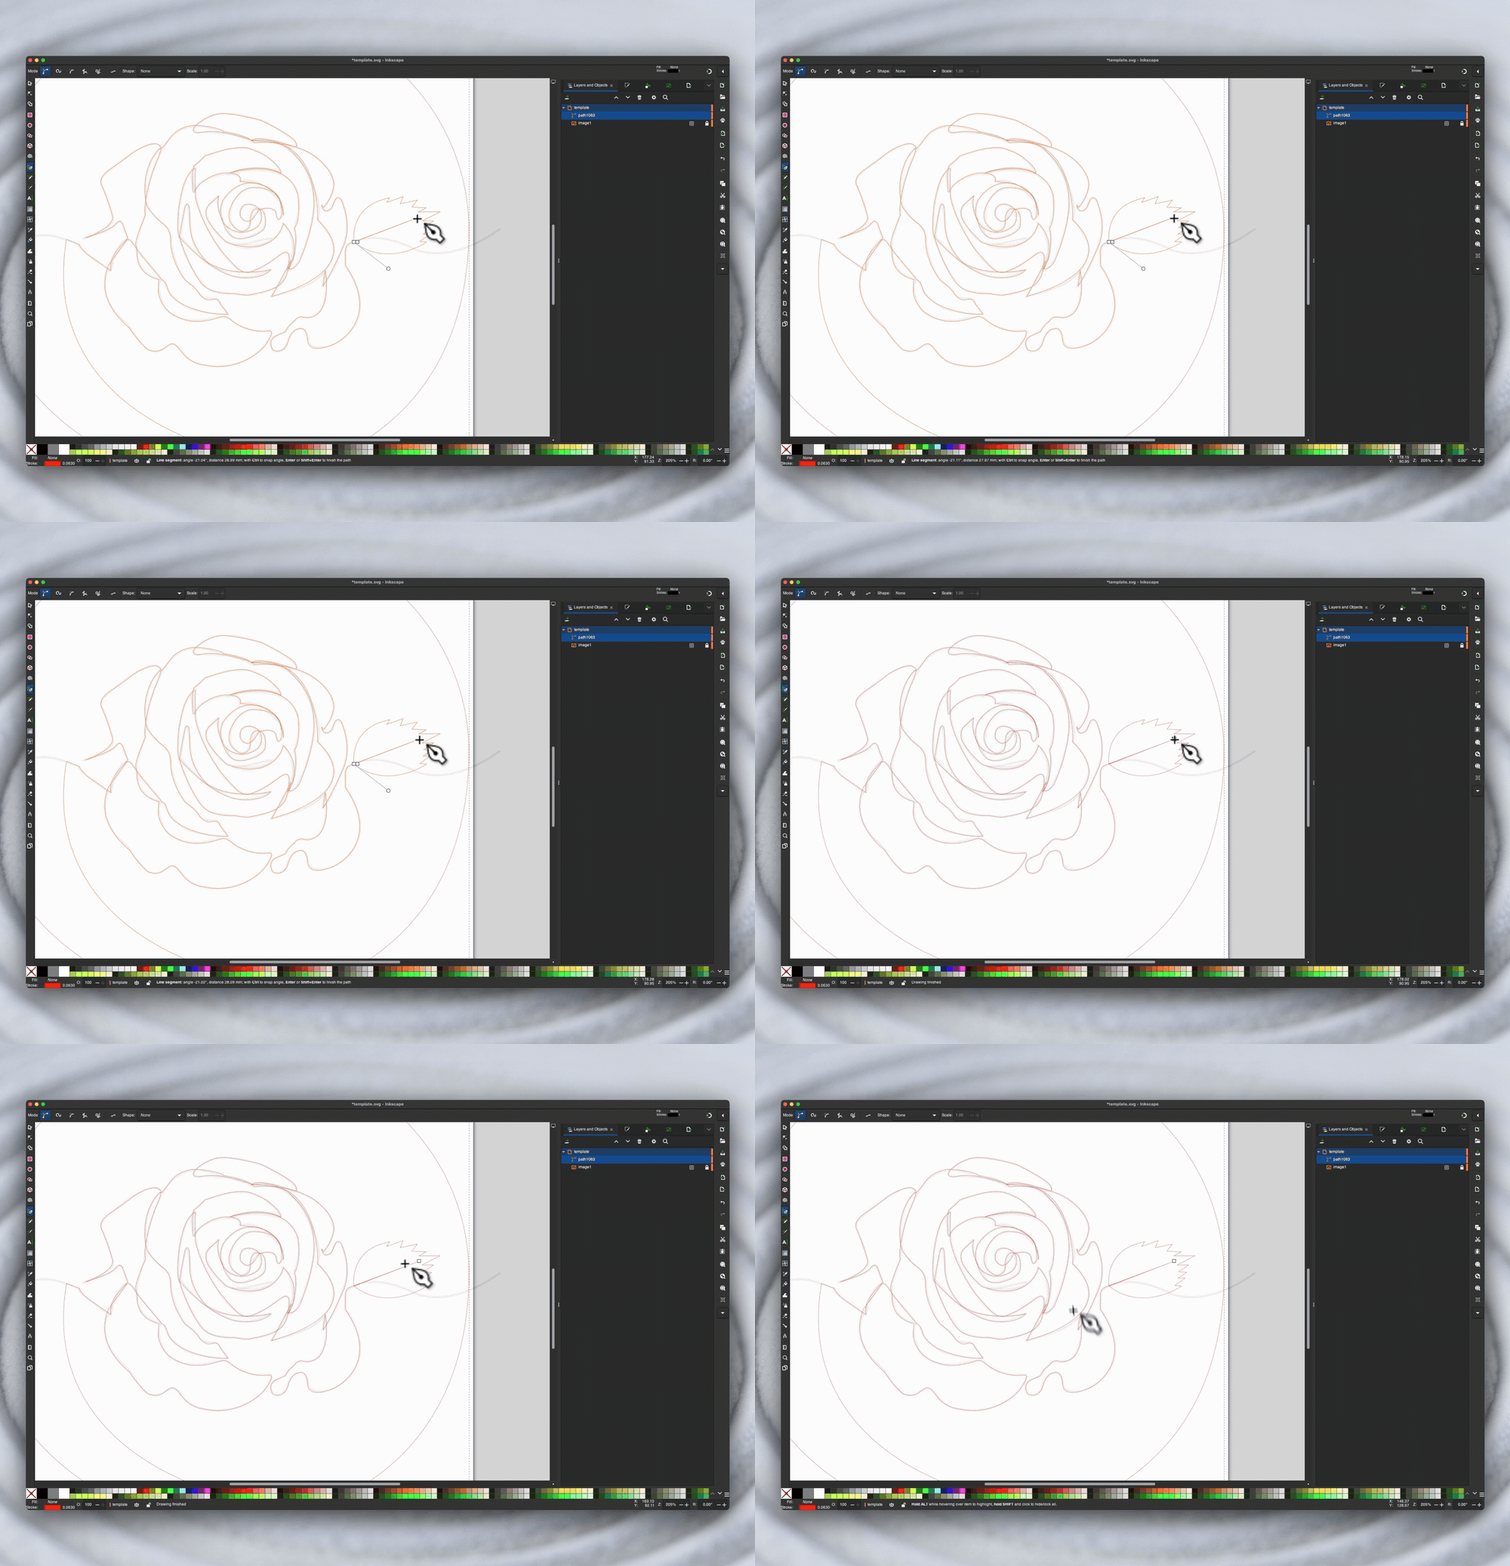
The traced path can now be refined to ensure it's prepared for upload.
Tip:
When tracing a complex image, it is best to start by drawing/tracing the background elements first and then finishing with the foreground elements. It all needs to be a single unbroken path for the tables to be able to draw the image.
<< Previous Article: Preparing the Pattern Template
Next Article: Preparing Pattern for Upload >>