Freehand Pattern Creation - Part 4: Preparing Pattern for UploadUpdated 4 months ago
Creating Custom Freehand Patterns
The Oasis Mini can draw both Algorithmic and Freehand custom patterns. In this tutorial, we’ll guide you step-by-step through creating and uploading a Freehand pattern using vector graphic software Inkscape. This is part 4 of 6.
Part 4: Preparing Pattern for Upload
Step 1: Clean Up Layers
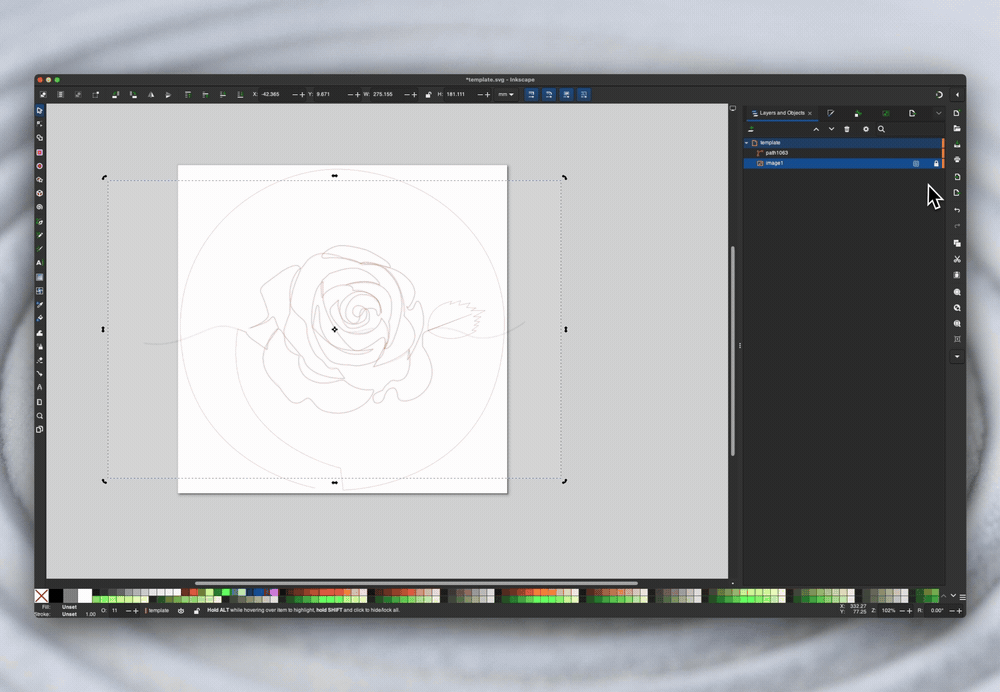
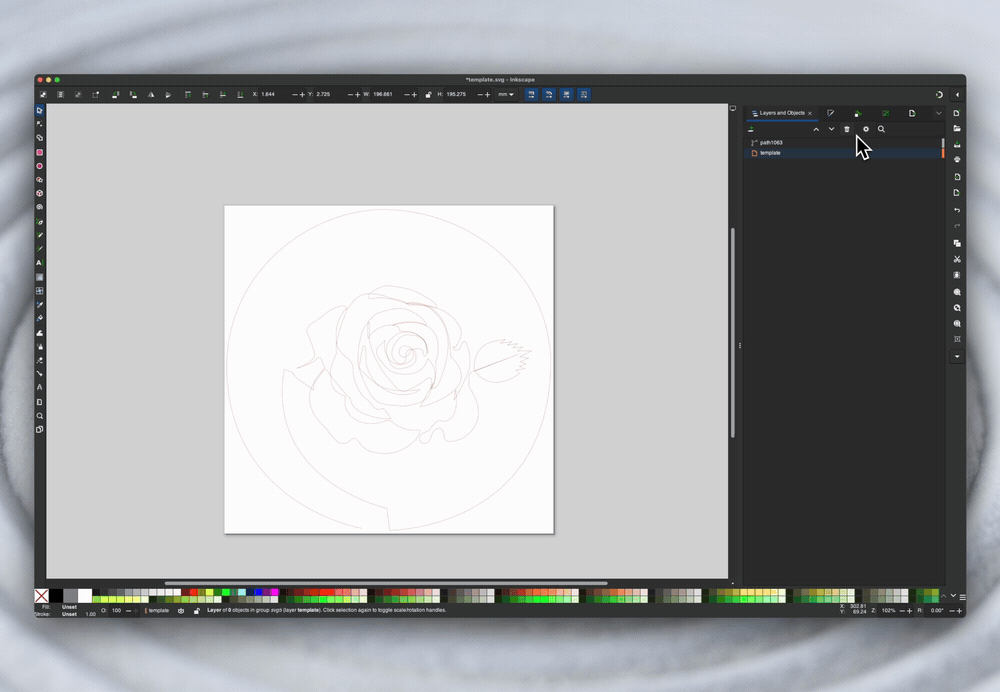
Unlock and delete the reference image layer.
Use the Node Tool (N) to tweak any parts of the drawing:
Adjust point positions or node handles.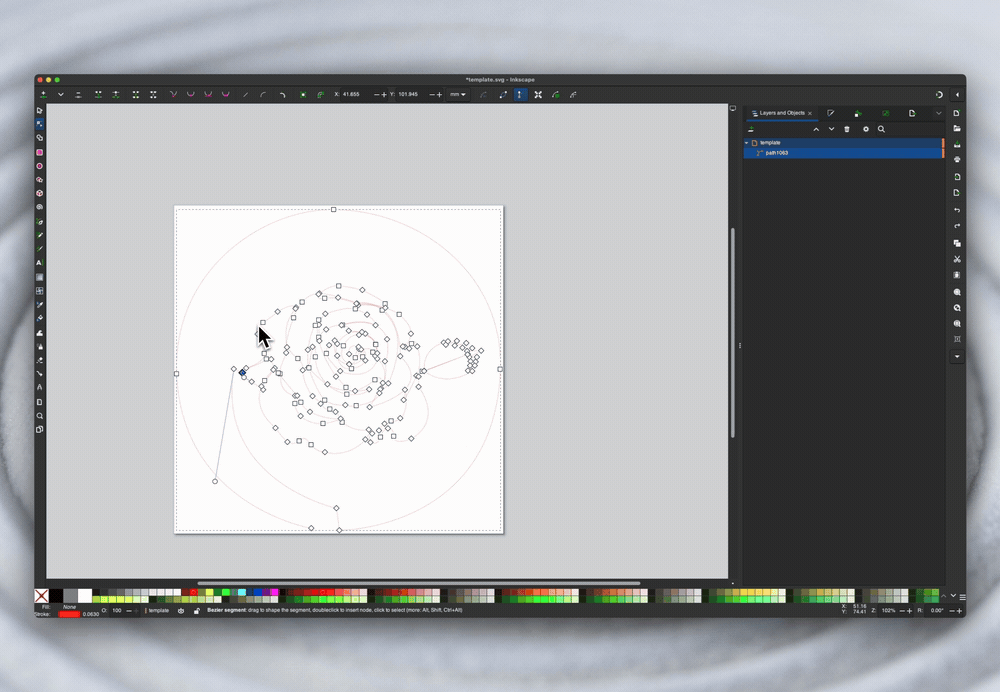 Ensure the starting node is properly connected to the template.
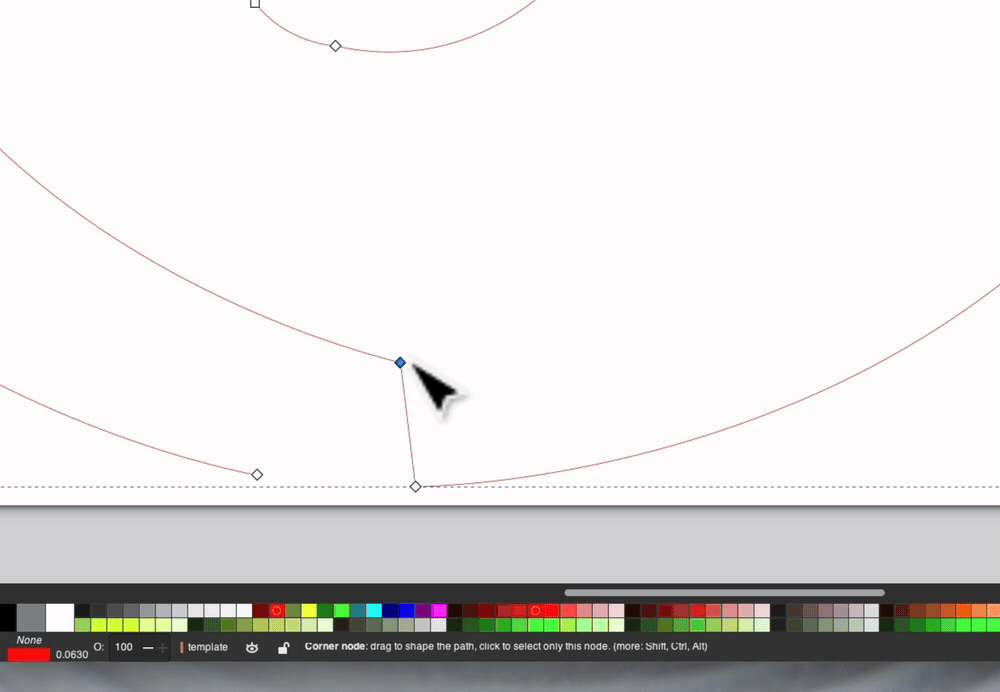
Step 2: Finalize the File
Move the vector path out of the template layer in the Layers panel.
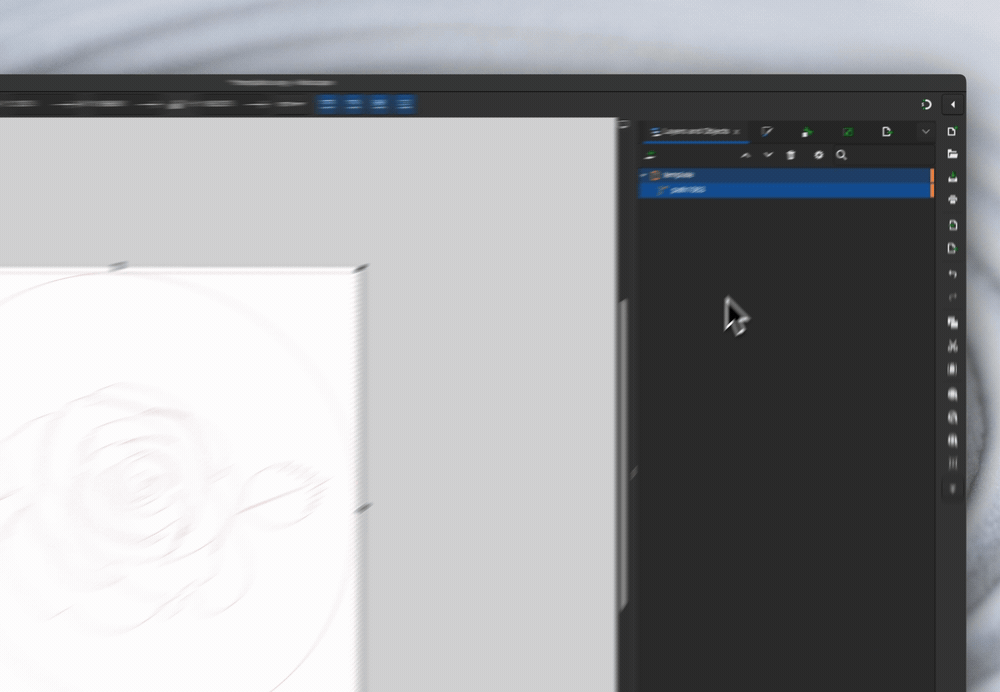
Delete the template layer to leave only the pattern path.
Save the final file:
In Inkscape, Go to File > Save As.
Choose a descriptive filename and save location (e.g., Desktop).
Ensure the file format is SVG and that you can find it on your computer via the file picker.
The file is now ready to upload to the Library, we'll cover the steps for upload in the next article.